This guide applies to Macs running 10.7, 10.8 and 10.9
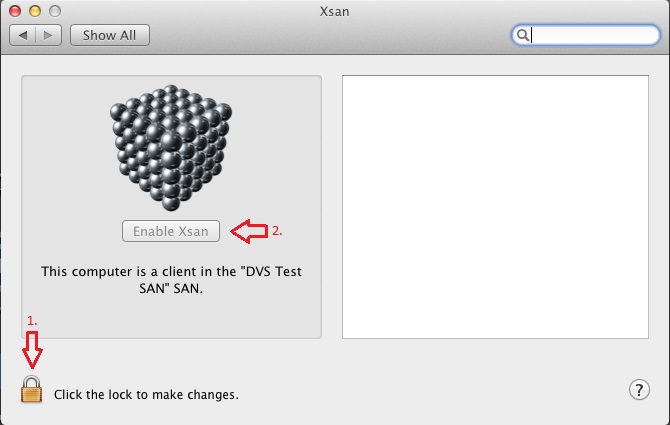
1. Open the System Preferences panel, and got to Xsan

2. Unlock if needed (1), and then Enable Xsan (2)
3. REBOOT!
4. Navigate to the /Library/Preferences/Xsan folder
a. open the Finder and go to Library

b. Then to Preferences

c. Then to Xsan
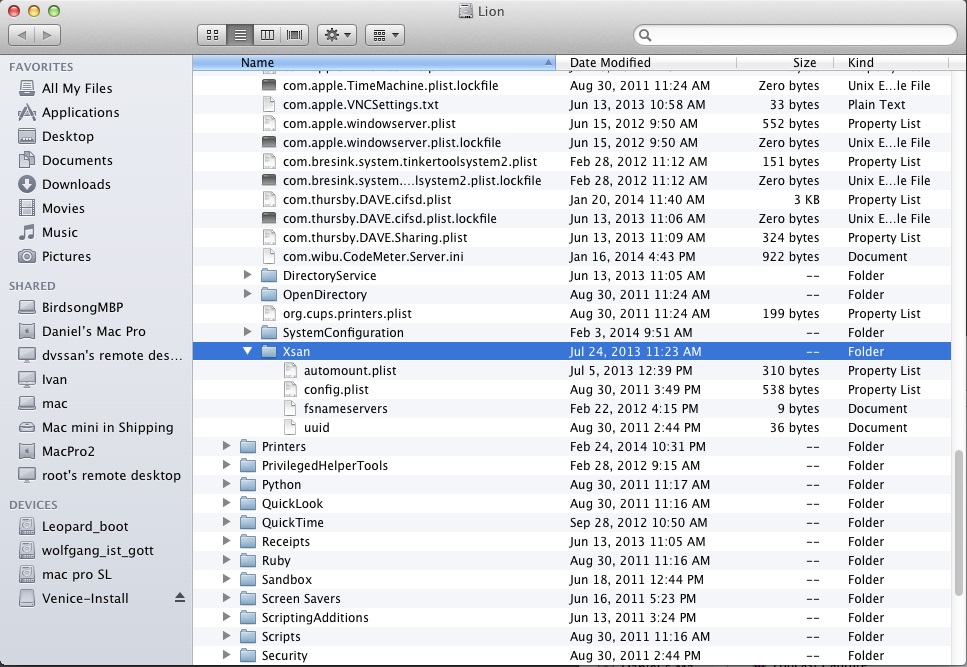
5. Create the files needed (fsnameservers and config.plist)
6. Edit the fsnameserver file to include the IP(s) of your metadata servers
7. Edit the config.plist to change
<key>metadataNetwork</key>
<string>10.0.0.0/24</string>
To the IP range that your metadata network is in.
8. Reboot
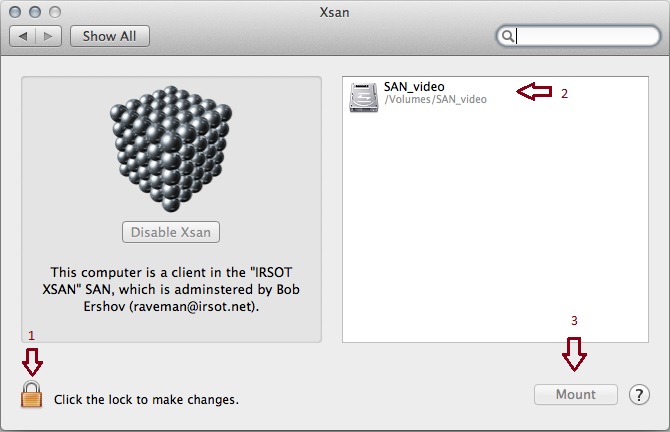
9. Go back into the System Preferences then to Xsan

10. Unlock if needed (1) select the filesystem (2) then click mount (3)
When creating the config.plist. use the below for the text:
- <?xml version="1.0" encoding="UTF-8"?>
<!DOCTYPE plist PUBLIC "-//Apple//DTD PLIST 1.0//EN" "http://www.apple.com/DTDs/PropertyList-1.0.dtd">
<plist version="1.0">
<dict>
<key>computers</key>
<array/>
<key>metadataNetwork</key>
<string>10.0.0.0/24</string>
<key>ownerEmail</key>
<string></string>
<key>ownerName</key>
<string></string>
<key>role</key>
<string>CLIENT</string>
<key>sanName</key>
<string>DVS Test SAN</string>
</dict>
</plist>
0 Comments